Custom Products Custom Patches

Custom Iron On Patches
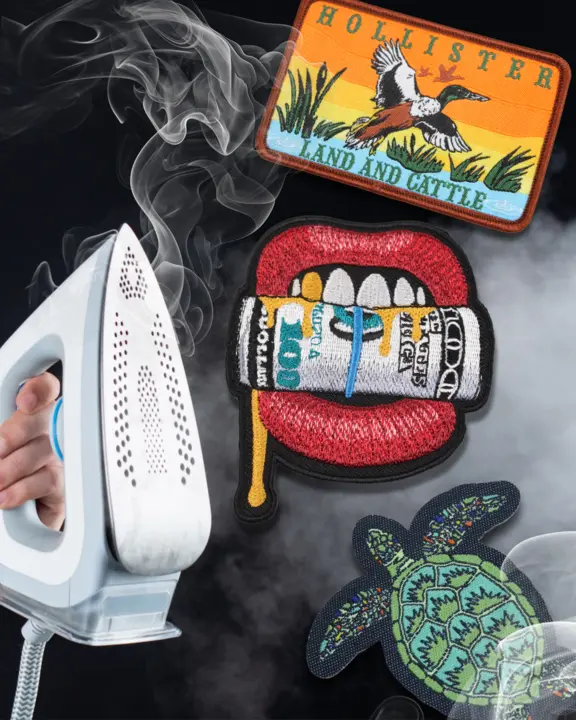
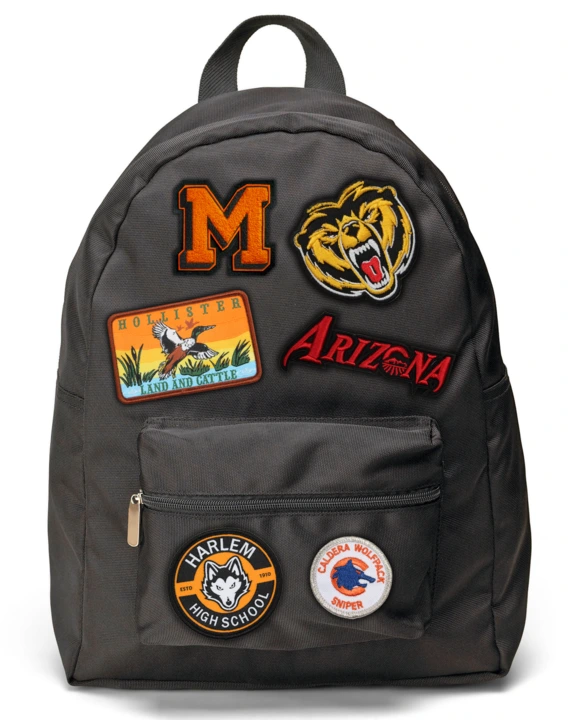
Quickly and efficiently add patches to anything with custom iron-on patches. When sewing is difficult and oftentimes requires contracting a skilled seamstress, custom iron-on patches can be easily attached with a household iron. Custom iron-on patches include glue, which is activated when heated up, creating a long-lasting hold. Custom iron-on patches are perfect for hats, backpacks, and sports uniforms. For over 30 years, The Monterey Company has been the trusted source for high-quality iron-on patches.
![]()
Trusted By The Best Brands
Custom Iron On Patch Types
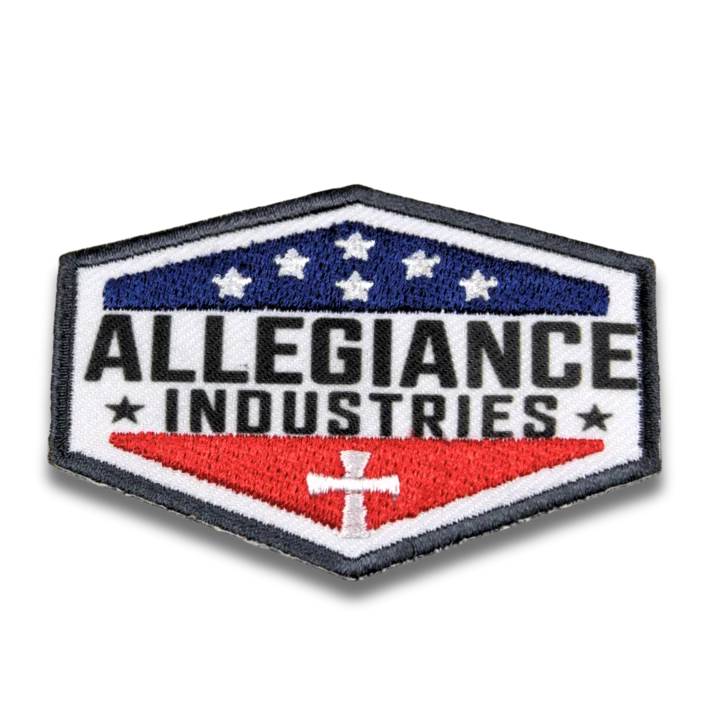
Embroidered Iron-on Patches
The most popular patch type for custom iron-on patches. Custom embroidered patches feature a fabric twill base with raised stitching.
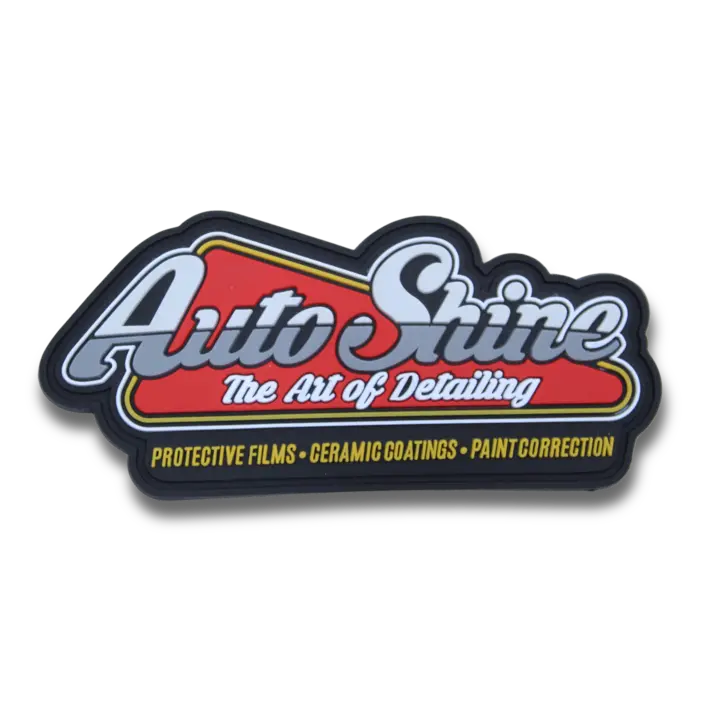
PVC Rubber Iron-on Patches
PVC patches are long-lasting and three-dimensional and are rising quickly in popularity. Great application on custom hats.

Woven Iron-on Patches
Custom woven patches are produced with thinner threads that are intertwined together, and are perfect for a most detailed design or logo.

Leather Iron-on Patches
Iron-on leather patches are offered in both faux and genuine leather. Upgrade your patch game with leather iron-on patches.

Dye Sublimated Iron-on Patches
Full color printed patches, used for the most intricate designs. Sublimated patches that can accomplish color gradients.

Chenille Iron-on Patches
Fluffy raised appearance, custom chenille patches are popular with letterman jackets. Easily iron-on chenille patches to your clothing.
3D Embroidered Iron-Patches
Rounded or puffed thread above the fabric base material. Creating a three-dimensional final product.
Customization Options for Iron-on Patches
Size & Shape
The most popular patch type for custom iron-on patches. Custom embroidered patches feature a fabric twill base with raised stitching.
Color Matching
We use the Pantone color matching to the rubber or thread colors on your custom patch. This way, we can maintain consistency with your brand.
Border Options
Custom woven, embroidered, sublimated and chenille patches offer a variety of different border options including merrow, heat-cut and laser-cut.
Frequently Asked Questions
Do iron-on patches actually stay?
Yes, iron-on patches hold very well. Fabrics like canvas, denim and polyester hold the best with custom-made patches. Make sure to use enough pressure and heat for the best hold. Check-out this blog on Ironing on Patches to Backpacks for a complete guide to backpack patch attachment.
Can you iron-on a patch to a hat?
Yes, absolutely! Classic trucker hats, dad hats and flat bills are perfect for iron-on patches. For the best adhesion, we suggest using a heat press rather than an iron. We use the HotTronix IQ 360.
How long is the production time for iron-on patches?
Depending on the patch type, custom iron-on patches take 8 to 20 business days to produce. Fast delivery options are available. Just ask your rep! Keep on the lookout for free shipping email promos (promo only offered for shipping within the United States). If you are not signed up yet, input your email address into the newsletter sign-up at the bottom of this page.
What temperature do you heat press patches?
The temperature varies depending on the style of patch and fabric you are attaching it to. But generally, 275 to 350 degrees is a good temperature setting range.
Can you remove iron-on patches?
Yes, it is very possible, but a detailed process is required. The iron-on backing is tricky to remove. Check out our blog, A Step-by-Step Guide to Removing Iron-On Patches, for a deep dive into removing iron-on patches.
Can I use a household iron to attach iron-on patches to hats?
Yes, absolutely! The first step is to heat the front of the hat with your iron for a few seconds. Next, position the patch onto the hat and cover the patch with a piece of parchment paper or cloth. Finally, apply pressure for 15 to 45 seconds.
What is the best heat press to attach iron-on patches to hats?
There are many different wonderful hat heat press machines available. We suggest the HotTronix 360 IQ due to the option for front and back heat. Along with customized pressure options on the HotTronix IQ 360. This is a great way to heat-apply PVC heat transfer patches.
What is the minimum order requirement for custom iron-on patches?
The minimum quantity is 50 for personalized patches. Except for chenille patches, the minimum is 25.
Four Easy Steps To Applying Your Patches
At the Monterey Company, we are the authority on how to apply iron on patches. Custom iron-on patches can be a fun way to add personal expression to your clothing. Just follow this simple step-by-step guide
Step 1: Heat Your Patch — Gently heat the front of your patch with your iron to activate the glue on the backside. Then, preheat the surface of the item you are attaching the patch to.
Step 2: Stick It On — Place your patch on the hat, jacket, or even a tote bag. Pro-tip: Use thermal heat tape to hold the patch in place perfectly.
Step 3: Press and Cover — Place a thin cloth like an old t-shirt or a bandana over the patch to protect it. Then, gently press it with the heated-up home iron. Depending on the patch style, it takes 15 to 45 seconds to bond.
Step 4: Flip & Repeat — Flip your gear inside out and do the same thing on the other side. This helps the glue truly bond. Make sure to let the garment cool before wearing it. And that's all there is to it!
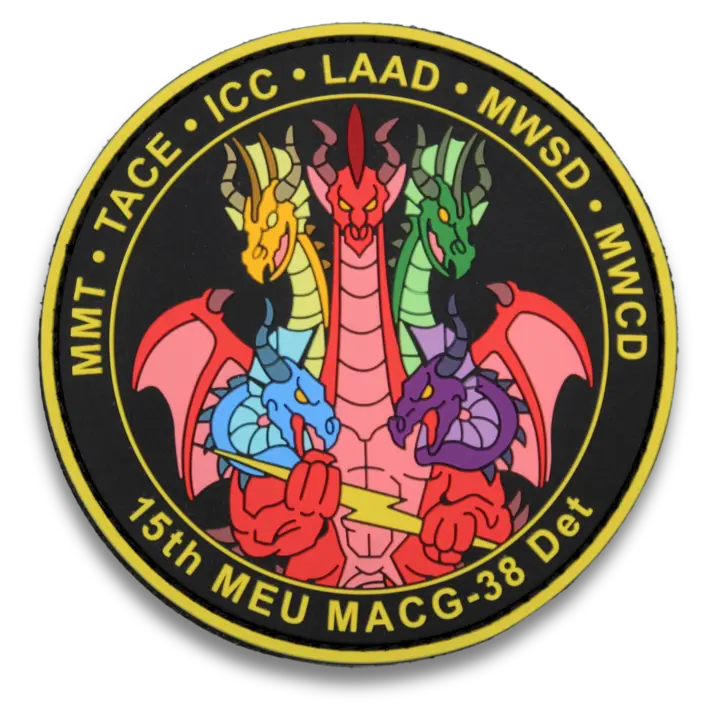
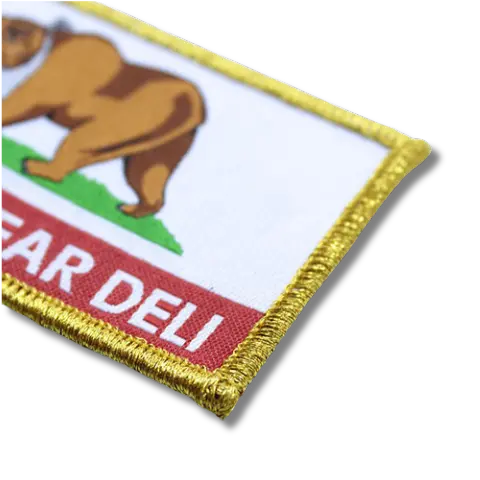
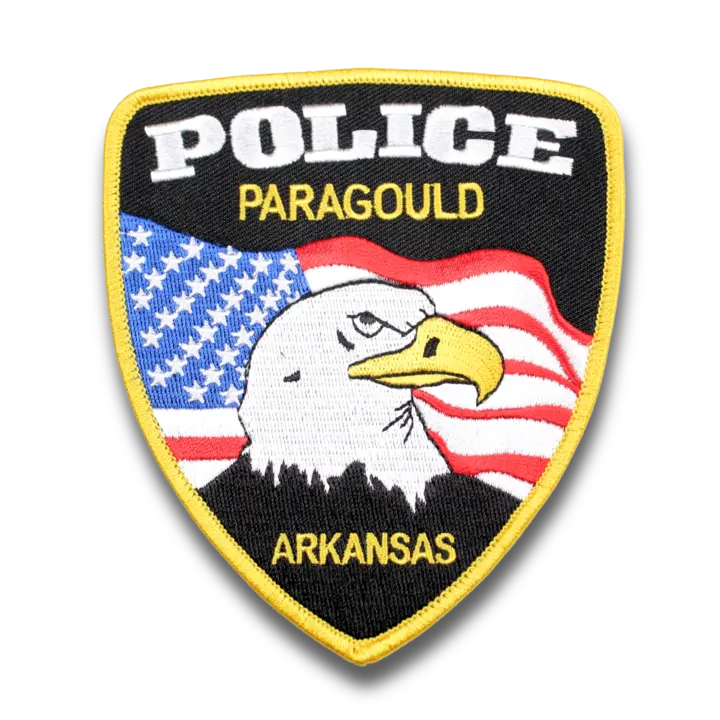
Custom Iron-on Patch Categories


How to Order Custom Iron-on Patches
The Monterey Company offers a seamless and easy ordering process. Take any custom design and transform it into a custom iron-on patch
Step 1: Select — Select your preferred patch style, then upload artwork, and complete the contact form. You will then receive a free quote from our sales team.
Step 2: Approve — We create a free sample art proof if the price quote aligns with your budget. Art revisions are easy! Just ask your our custom success team.
Step 3: Receive — When you have a custom iron-on patch that finishes and passes our quality control standards. Your order will ship with a tracking number.

How to Iron-on Patches to Hats
Testimonials
See what our customers are saying on Google


Why Choose The Monterey Company?
📈 Top Rated on Google
The Monterey Company has over 500 5-Star Reviews on Google! Customer satisfaction is our number one focus.
🖼️ Free Quote & Art Proof
For each project, The Monterey Company offers a free quote and free artwork. Know the price and see the product fast!
🗝️ Leading Since 1989
With over 30 years of industry-leading experience, we have seen the pitfalls that other manufacturers have not experienced.
🙌 Quality over Everything
We take pride in using only the finest materials, having premium quality, and creating a flawless finished product.
Follow Us On Instagram

The Monterey Company, Inc.
From custom pins to patches, hats to hoodies - we’ve got your brand covered. Located in Bend, OR 🌲
Shipping Nationwide & International 📦
Order Below👇🏼

🎆 Happy 4th of July from The Monterey Company! 🎆 We’re all about freedom of...

🚨 Heads up, custom gear lovers! 🚨 If you want your hats, pins, coins, or...

Space dog lapel pin! 🧑🚀🪐 This was a fun one to create. Shiny finish, hard...

☀️ Summer calls for cooler hats — literally. Whether you're hitting the trails or kicking...

Built for crews who don’t mess around. 🔥 This custom PVC patch for the Smokey...