How To Remove an Iron On Patch
Iron-on patches are a fantastic way to customize your clothes. But what happens when it’s time to take one off? Whether you’ve outgrown the design or need to swap it for a new one, removing custom iron-on patches can be tricky—especially without damaging the fabric.
Don’t worry! In this blog, we’ll walk you through the best way to remove iron-on patches using safe and effective methods. Whether you’re working with a cotton tee or a delicate fabric jacket, we’ve got the step-by-step instructions you need.
Understanding Iron-On Patches
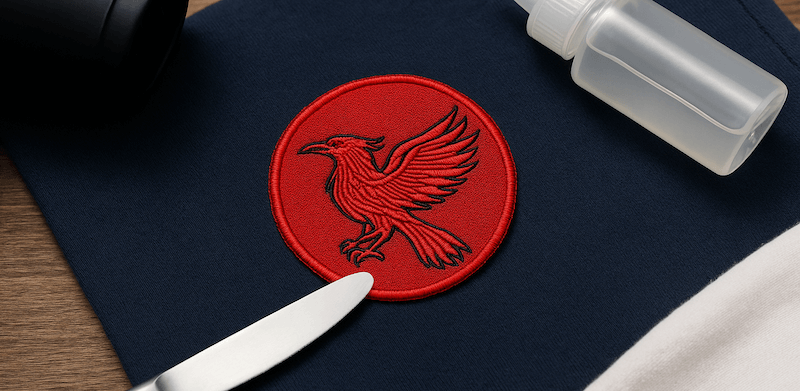
Iron-on patches come with glue on the back that melts when heated. This glue helps stick the customized patch to your clothing. Brands often use these patches for fast decoration, and many custom patches—including chenille patches and embroidered patches—use this method.
When applied correctly, iron patches stay on tight. That’s great until you need to take one off. Removing iron-on patches means melting the glue again—but carefully!
Tools and Prep Before You Start
Before starting the patch removal process, make sure you know what kind of fabric you’re working with. Thin fabrics need a gentle touch. Always test on a hidden area of the fabric before applying heat or chemicals.
Check Your Fabric and Test a Small Area
Look for the tag on your clothing item to check the fabric type. Delicate fabrics like silk or lace may not do well with direct heat. That’s where the freezing method or natural adhesive remover comes in handy.
Gather the Right Tools
Here’s what you’ll need depending on the method:
- ➤ Hairdryer or pre-heated iron
- ➤ Butter knife or credit card
- ➤ Clean cloth or soft cloth
- ➤ Cotton ball or old toothbrush
- ➤ Nail polish remover or white vinegar
- ➤ Baking soda or coconut oil
- ➤ Fabric-safe adhesive remover
- ➤ Ironing board or flat surface

Step-by-Step Patch Removal Guide
Let’s look at the best methods for removing iron-on patches from any fabric.
Heat Method Using Iron or Hairdryer
- Place the clothing item on a flat surface or ironing board.
- Cover the patch with a thin cloth towel or place wax paper over the patch.
- Apply heat using a warm iron or a hairdryer for a couple of minutes. Make sure not to use too much heat.
- Gently lift the edge of the patch with a butter knife or credit card.
- Use tweezers to peel the patch slowly.
- If the adhesive melts but doesn’t come off, repeat the process on the edges of the patch.
This method works best for thick fabrics and is the easiest way for patch removal.
Natural and Liquid Adhesive Removers
If you don’t want to use heat, try a fabric-safe adhesive remover or a DIY option.
- Soak a cotton ball in white vinegar or nail polish remover.
- Dab the cotton ball on the cloth part of the patch.
- Let it sit for a few minutes.
- Scrub with an old toothbrush and wipe away with a clean cloth.
You can also make a thick paste of baking soda and warm water, or apply a few drops of orange essential oil for a natural adhesive remover.
Freezing for Delicate Fabrics
Delicate fabrics need a better idea than heat. Try this:
- Place the item in a freezer-safe bag.
- Freeze for several hours.
- Remove and gently peel the patch using tweezers.
The cold will cause the glue to crack, making patch removal easier with less fabric damage.
Cleaning Up Sticky Residue
Even after the patch is off, some iron-on patch glue might be left behind. Here’s how to handle leftover adhesive without hurting the fabric of your item.
Best Ways to Remove Leftover Adhesive
- Use glue remover or fabric-safe adhesive remover.
- Rub gently with a clean cloth soaked in room temperature water.
- Try warm water mixed with laundry detergent on the small area with sticky residue.
- Avoid direct contact with harsh chemicals unless you’ve tested the hidden area first.
If you notice tough stains or remaining glue, applying baking soda or coconut oil can also help loosen it.
Caring for Your Clothing After Patch Removal
Once your patch is gone and the sticky parts are cleaned, it’s time to freshen up your fabric.
Wash, Dry, and Protect Your Fabric
- Wash the item in cold water or warm water depending on the care instructions.
- Let it dry flat to avoid stretching.
- Never toss it right into the washing machine if you’ve used strong chemicals.
- Always follow the garment’s care label after patch removal.
Following these steps will ensure your fabric stays clean and ready for the next design!
Common Questions Answered
What’s the Best Method for Removing Iron-On Patches?
The best method depends on the type of fabric. Heat is perfect for thicker materials, while vinegar or essential oil is better for delicate fabrics. Always test first!
Is It Safe to Use Nail Polish Remover?
Yes, but only in small amounts and only after testing it on an inconspicuous area of the fabric.
Can I Use These Methods on a Canvas Bag?
Yes! Canvas is tough and handles both heat and adhesive remover methods well. Just don’t use too much heat in one spot.
What If the Fabric Gets Damaged?
If you notice damage, stop and try an alternative method. For high-quality results, sometimes it’s easier to order a new custom patch instead.
When It’s Time to Order New Custom Patches
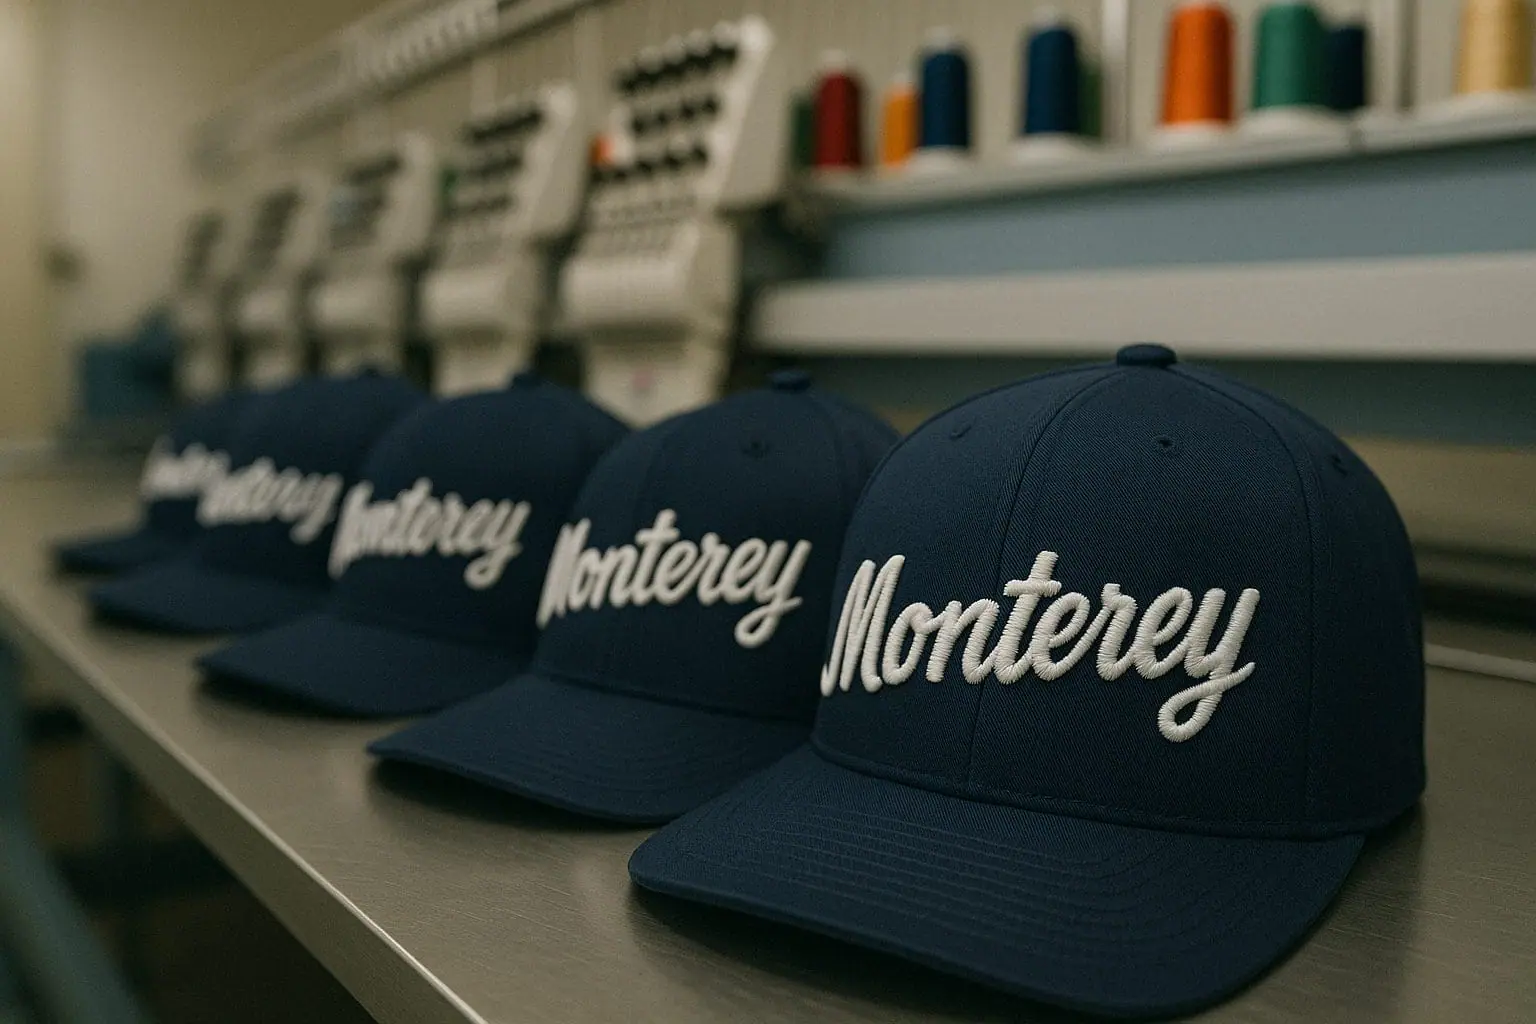
After you remove your old patch, you might want to replace it with something fresh! Custom iron-on patches from The Monterey Company are easy to apply and just as easy to remove when needed. Whether you want chenille patches, custom embroidered patches, or sew on patches—we’ve got you covered.
Need help? Reach out for a free quote today by visiting our website or contacting us with your email address. We’ll help you design your next patch with care, precision, and quality in mind.
Final Tip: Patch removal doesn’t have to be stressful. With the right tools and a little patience, you’ll get the job done. And when you’re ready to create your next masterpiece—start with The Monterey Company!

Jack Roddy
I love anything that involves a thrill! Some of my favorite after-work activities include skiing, surfing, kiteboarding, riding my motorcycle and fly fishing on the Deschutes river.