Sewing Custom Patches To Hats
Whether you’re creating hats with logo patches or dressing up your sports team the procedure is surprisingly straightforward. While becoming skilled, at sewing a patch onto a hat may take some practice and patience the end result is sure to be impressive and offers a lasting alternative, to using adhesive and an iron. Sewing patches to hats offers lots of possibilities for personalizing headwear. To start, gather the materials; hats, patches and an industrial-grade sewing machine, thread in colors that match your taste.
Placing Your Patch On Your Hat
Begin by placing the patch on the hat ensuring it is centered and aligned correctly. When choosing thread opt for a color that complements both the patch and the hat to create a look. Before you begin sewing prepare your sewing machine by threading it with the selected thread and using a needle for the patch and hat materials. Adjust settings such as stitch length and tension to achieve results.
Now comes the crucial step of sewing the patch onto the hat. Position both pieces under the presser foot of your sewing machine ensuring placement of the patch according to your desired design. Lower the presser foot. Start stitching around the edges of the patch. You have various stitching options available such, as stitch or zigzag stitch based on your preference and desired outcome.
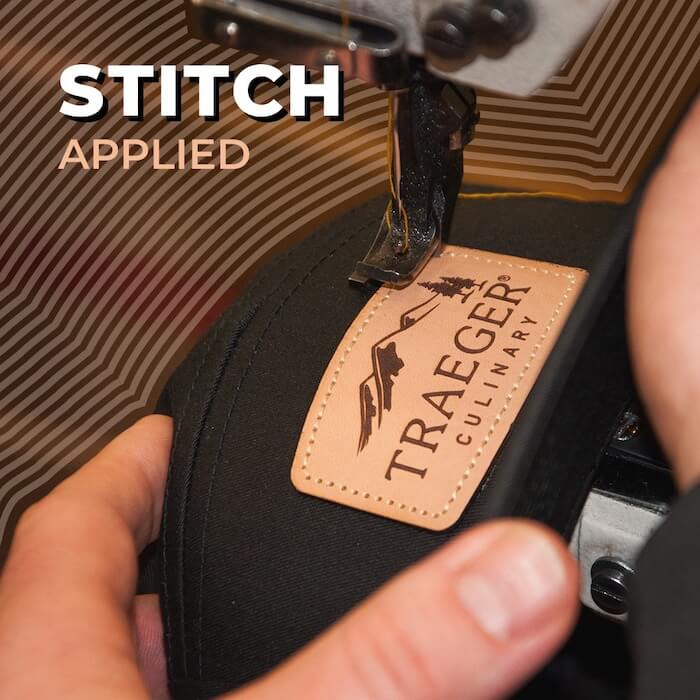
To attach the patch start sewing around it ensuring that you stitch all the way, to the edge. Use a backstitch at the beginning and end of your sewing to prevent any unraveling. When working with PVC patches it’s practice to create a sewing channel underneath the patch’s surface to hide the stitching and give it an appearance. You may require sewing machine feet or attachments designed for this purpose.
Completing the sewing process
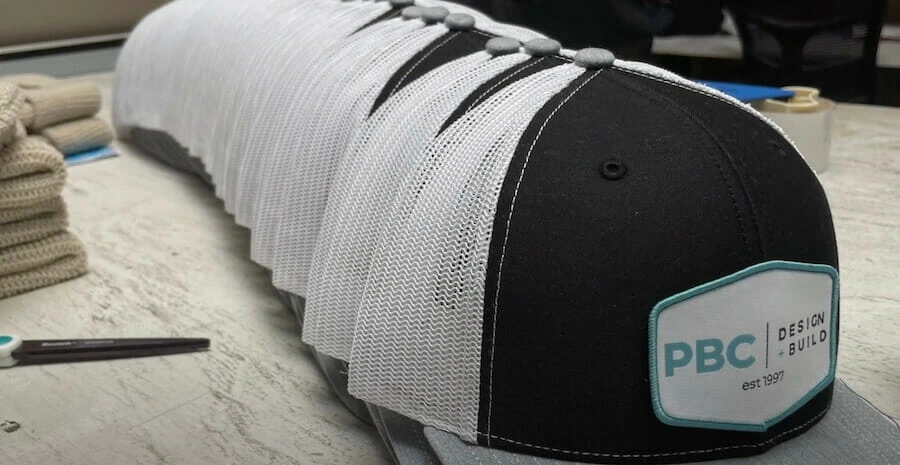
After completing the sewing process trim any threads on both sides of the hat for a tidy result. It’s important to note that attaching patches onto hats can be done quickly using a sewing machine taking 30 seconds per patch. This efficient production capability makes it ideal, for large-scale manufacturing enabling you to create custom and durable headwear tailored to your preferences.
Sewing patches onto caps can be a way to add a touch but it does present some distinct challenges depending on the style of cap. Whether you’re working with a knit cap, a visor, a classic baseball cap or something else entirely each type has its quirks when it comes to preparing them for embroidery.
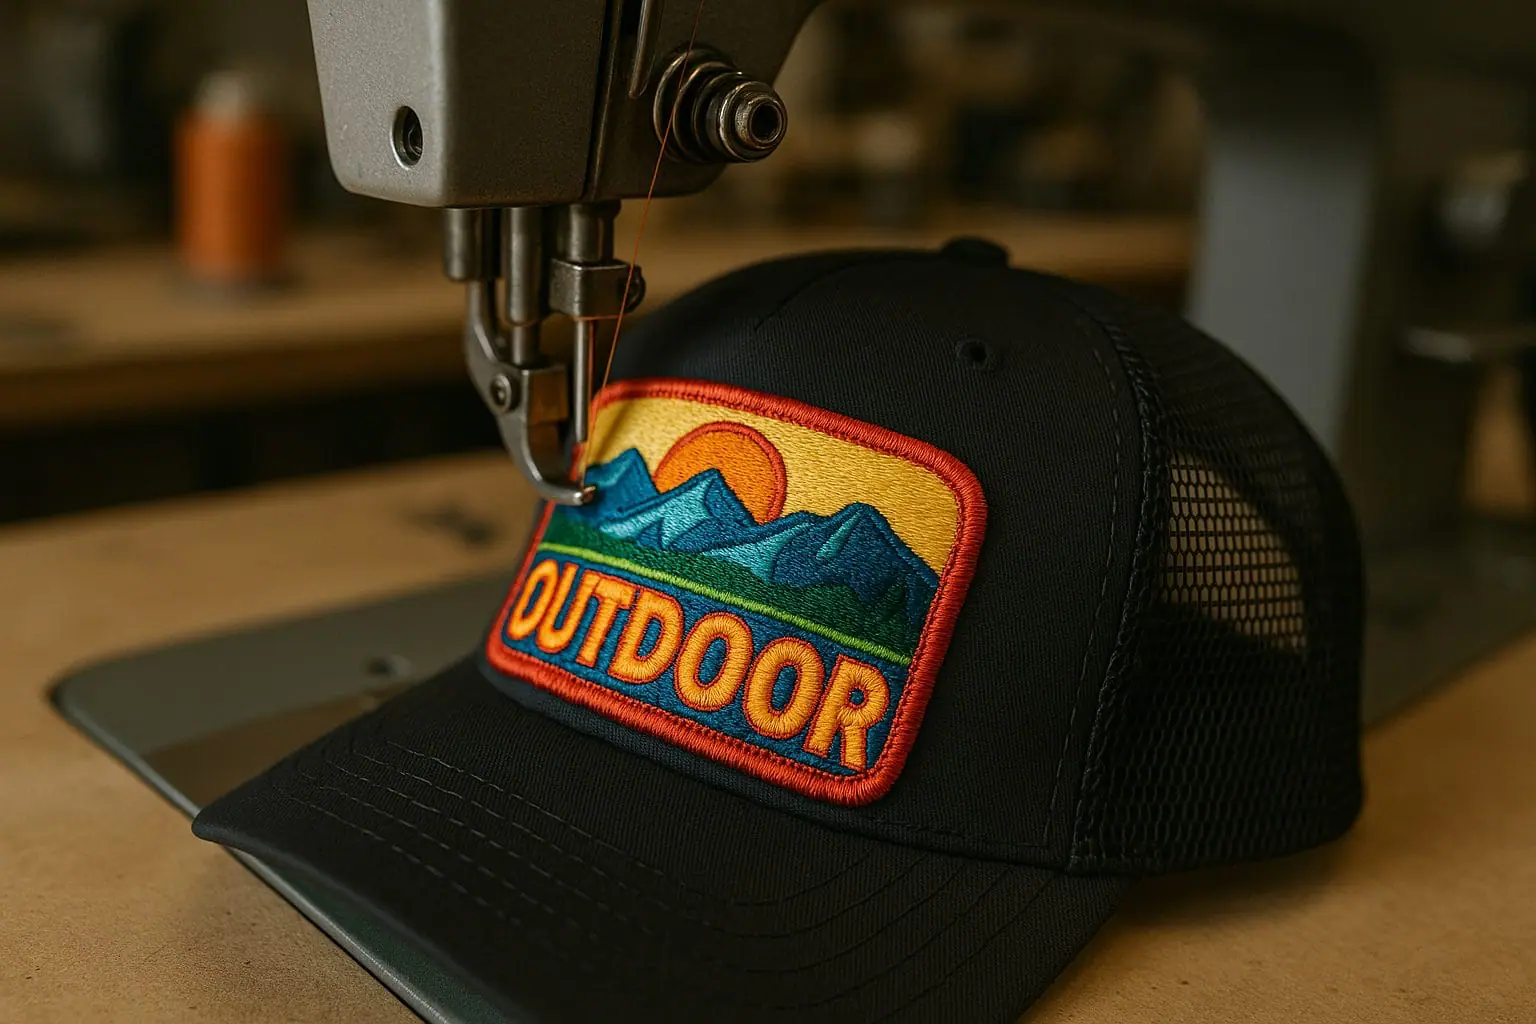
Using an embroidery machine to sew on a patch on a hat
When using an embroidery machine to sew on a patch it’s crucial to ensure that the cap is as smooth, as possible. This allows your machine to move the hoop without any interruptions. To secure the backing onto the cap effectively underlay stitches play a role. Many software programs offer features such as stitch outlines (referred to as “Area with Applique”) or radial fill options that initiate stitching from the center and expand outward. Another technique involves creating “tree underlay” by digitizing running stitches that spread out and flatten the surface of the cap similar, to smoothing out bubbles under a sticker.

Jack Roddy
I love anything that involves a thrill! Some of my favorite after-work activities include skiing, surfing, kiteboarding, riding my motorcycle and fly fishing on the Deschutes river.